Page 1 of 2
Covering started
Posted: Sat Sep 28, 2013 6:55 pm
by splischke
Just thought I'd share a picture of my 'Classic' being covered. Bottom piece attached. Still much more to go. Incidentally, I'm using the Air-Tech System.
-Scott
Re: Covering started
Posted: Sat Sep 28, 2013 8:17 pm
by dougm
Wow! Congrats on the milestone! Keep us posted on how you make out with the Airtech system. I'm considering the same thing.
Re: Covering started
Posted: Mon Sep 30, 2013 12:08 pm
by orchardair
I can't tell you how motivating I find these builder update pictures!
Good job!
Keep 'em coming.
Re: Covering started
Posted: Wed Oct 02, 2013 5:06 pm
by painless
Nice!!!
Re: Covering started
Posted: Wed Oct 02, 2013 6:55 pm
by splischke
Thanks. I'll post more pictures as progress continues.
I'm hoping the Air-Tech System works as well for me as it did for Ron Sieck on his award winning Classic. So far I can only comment on the glue and it's not much different than Poly-Tak except you must reduce it a lot.
-Scott
Re: Covering started
Posted: Thu Oct 03, 2013 11:11 am
by Bill Rusk
Scott
I used Air-Tec on my last cub. Here is an edited version of my posts from the Supercub.org website on my experience with Air-Tec.
Painting info
I am doing the Air-Tech system. I used 1.5 coats of primer (a cross-coat counts as 1 coat, thats 1 cross coat and 1 more pass 90 to the last) I sanded the snot out of it and it really sands nice. It is quite easy to make tapes disappear by just sanding. No need to lay the paint on thick to hide things just lots of sanding. 400 grit wet. Air-Tech recommends 3 cross coats of primer. I used 1.5 coats. Keep it thin and light. If you use the recommended three coats of primer and three coats of paint you may get cracking. Airtec is a high solids system and goes on thick. I personally feel their recommendation is too much.
I tried just 1 cross coat of paint but at least for white that did not give full coverage. I think it will require 1.5 or maybe 2 coats. Air-Tec again recommends three.
Pin holes can occur. It is amazing that tapes will disappear but that microscopic pin hole will stand out like a big zit on your face on prom night.
Update. Arghhhhhh....
I have spent a couple of months of spare time trying to get some paint on things. The horiz surfaces were my first attempts. I sanded them extensively with 400 wet. I over did it. I actually prefer to see the tapes but I sanded them away cause I could I guess. When I layed on the paint I got pin holes all over the tapes. Unacceptable, so I color sanded and repainted. Got pinholes again. Bad. Still only confined to the tapes, not at the edge of the tapes, rather in the center of the tapes. Just not good at all.
So after a lot of sanding and painting I need to figure out what is causing the problem.
ANSWER TO PINHOLES
1.5 coats of primer.
Sand and or scuff with med ( maroon color) Scotchbrite pad. Use 400 grit to get the stubborn dirt particles or other odd places, but it is not necessary to do an overall sanding of the glued areas, and in fact, will be detrimental. Also the Scotchbrite pad will leave the tape edges that sandpaper will hide. If you over do it you may want to spray more primer on. If you want to sand the tape edges away it is not hard to do but may require a second round of primer to avoid pinholes.
Final wipe with AirTech fabric wash, alcohol.
Spray one cross coat of paint. Wait about an hour at 70 degrees, then spray one more pass. This will show a little weave and the tapes, yet still leave a very nice high gloss finish.
Pinholes
The definitive answer on pinholes and Airtec paint that no one will tell you. If the primer is too thin the topcoat will go through the primer and activate the glue causing the pinholes. If you go with just 1.5 coats of primer don't sand the glued areas. Scotchbrite only. You can sand the open areas where there are no tapes and/or glue but not the glued areas. If you want to sand the tapes out use plenty of primer over the taped areas. Pin holes will occur over the glue if the primer is too thin.
So....in summary. I recommend 1.5 coats of primer, scotchbright lightly the tapes, sand the open bays with 400 grit all you want, 1.5 coats paint. This will show the weave and the tapes, but still have a nice gloss surface and it will be thin and light so you should not encounter and cracking.
My opinion only
Bill
Re: Covering started
Posted: Thu Oct 03, 2013 1:38 pm
by splischke
Thanks Bill for the information. So was the top color coat easy to apply and not too susceptible to orange peel? The paint jobs on the Airtech website are amazing -- surfaces are glass slick.
-Scott
Re: Covering started
Posted: Thu Oct 03, 2013 3:08 pm
by Bill Rusk
Scott
The only thing I did not care for with the Airtec system is I felt the topcoats were overly sensitive to operator technique. If you do everything just right it is awesome but unfortunately the margin between orange peel and runs is pretty narrow. I had a pro spray the boot cowl on my Cub and I did not tell him anything about the paint except the mixing instructions and stuff he needed to know. He said it was the most difficult paint he had ever sprayed. When it is right it is AWESOME but it can be pretty challenging to get right. It is really tough paint once it is on so it will look great for many many years. It will not stain, yellow, blister or anything else once it is dry. I still firmly believe it is a great system and a great paint, it was just hard for a boneheaded amatuer like me to get right.
Generally you couldn't tell too bad, I won't point out the faults.....


Hope this helps
Bill
Re: Covering started
Posted: Thu Oct 03, 2013 3:20 pm
by splischke
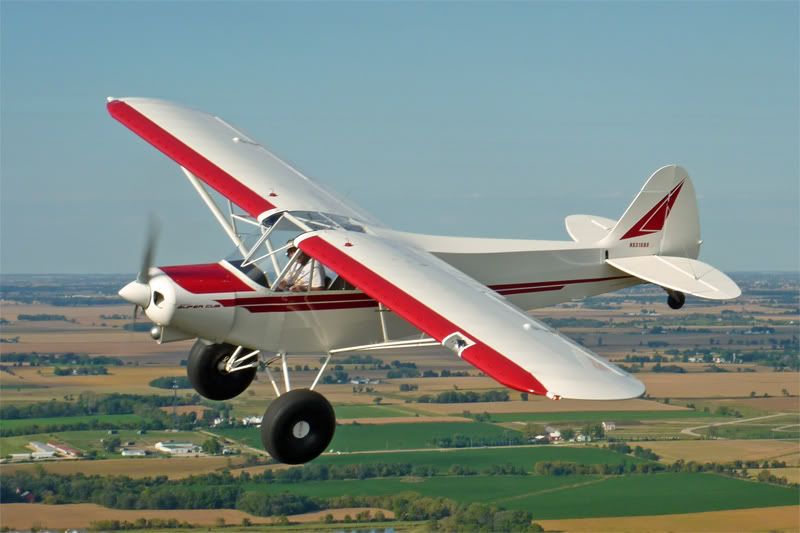
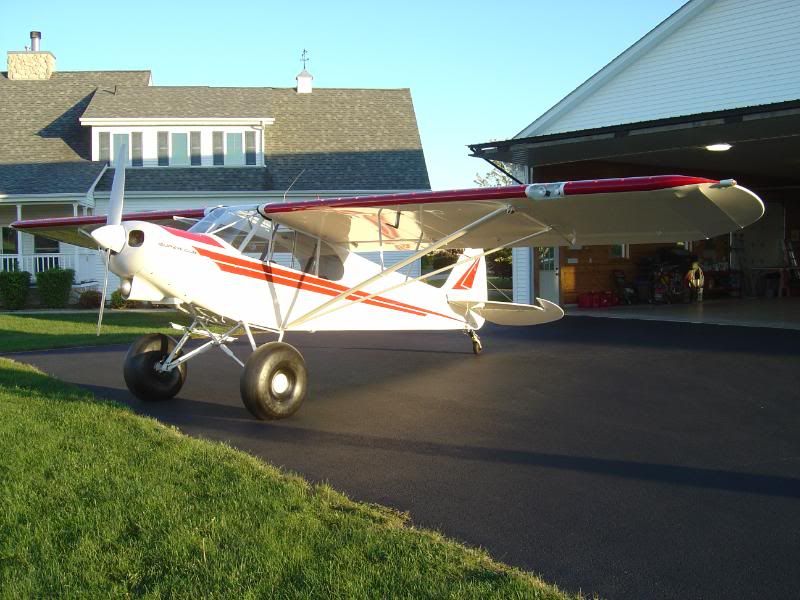
Wow Bill, your Cub looks pretty nice to me! I can tell from the reflection on the bottom of the wings that gloss retention is very good.
-Scott
Re: Covering started
Posted: Mon Oct 07, 2013 6:40 pm
by splischke
Right side covered. Still a mountain of work to go.
-Scott


